Introduction
Install and use the third-party tool Display Menu to make controlling secondary displays like projectors easier from a Mac.
This tool is just a shortcut to the full menu of choices that are found in System Preferences / Dipslays. All display settings can still be modified in the default location at any time.
-
-
Open the Self Service app, and find Display Menu.
-
Install Display Menu, and then click the Open button to launch it.
-
-
-
Click the TV-shaped icon on the menu bar to open Display Menu.
-
Click on the small down arrow and select Start at Login so the app is always running in the menu bar. Verify it has a check next to it.
-
-
-
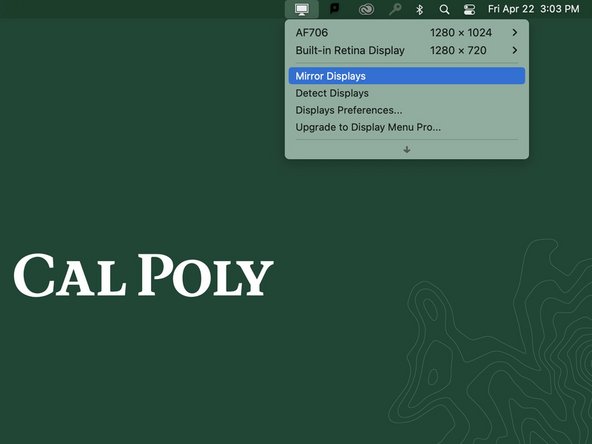
Select Mirror Displays from the drop-down menu.
-
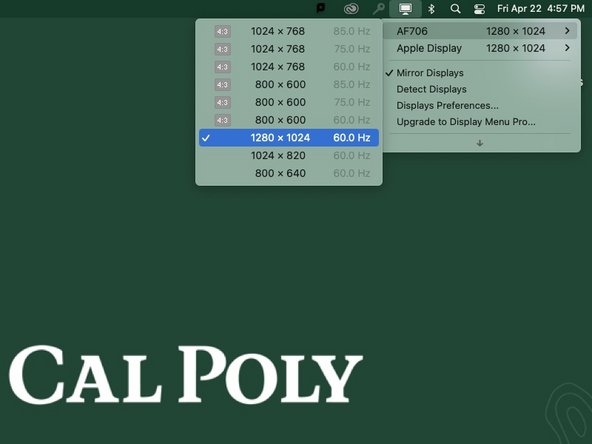
Adjust both the built-in display and the attached display or projector quickly.
-
Note that both resolutions and aspect ratios are listed (for most options).
-
-
-
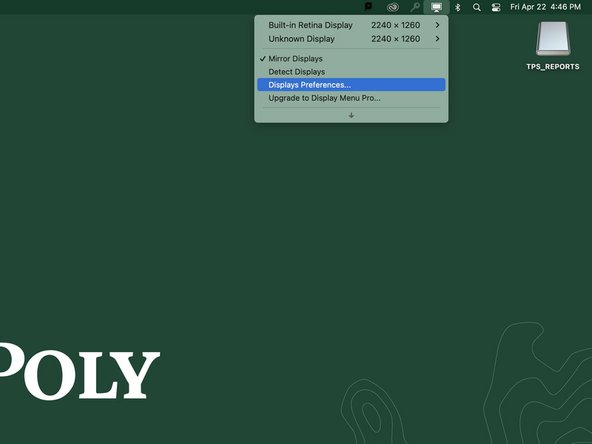
Easy access to System Preferences / Diplays is available in the drop-down menu too.
-