
Introduction
Art & Design students can print from their own computers to:
- Ricoh in Building 21-206
- Kyocera in Building 34-149
- Kyocera in Building 34-150
This process has limitations and some requirements compared to direct printing, so review these before proceeding.
Web Print Limitations:
- File format: PDF only
- Jobs will automatically print the size of the print queue selected, in portrait direction
- User cannot select Bypass tray for custom paper
- User cannot select two-sided printing
- User cannot make printer-related adjustments (print quality, page range, color profile selection, scaling image size, etc.)
Web Print Requirements:
- You already have an activated PaperCut account
- You have an adequate PaperCut balance to cover the cost of the web prints
- Setup your original document to the required size: Letter (8.5x11 or 11x17) portrait direction
- You have saved your file as a PDF
Tools
Parts
No parts specified.
-
-
Confirm your device is connected to Cal Poly's eduroam network with good signal strength.
-
PaperCut web printers are only available via a direct network connection on campus. A privacy VPN, proxy, or other security/privacy options may block access, and the web print pages will NOT load.
-
-
-
Open a browser and enter or copy over the web print URL.
-
Log in with your Cal Poly credentials.
-
If the browser gives a security warning, click approve or continue to the site.
-
If the page times out or gives an error, check to see if your device is configured to use a wifi hotspot, VPN, proxy, or other security tool. Privacy tools or settings must be disabled before a connection can be established.
-
-
-
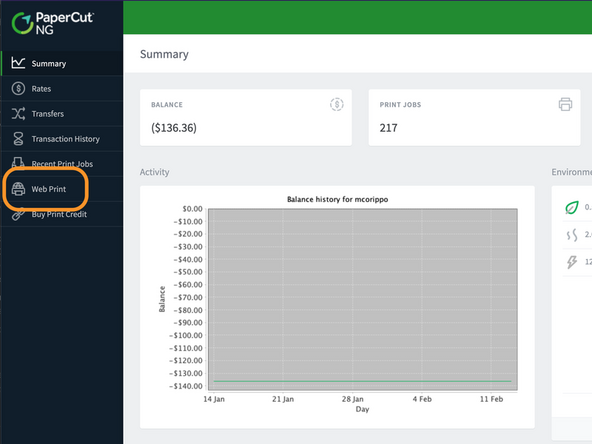
From the Summary page, click on Web Print in the left column.
-
-
-
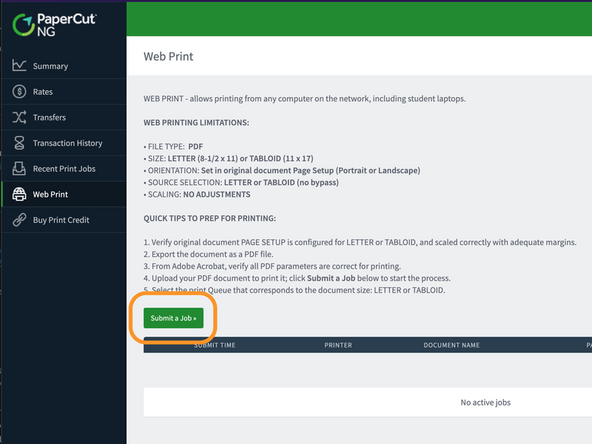
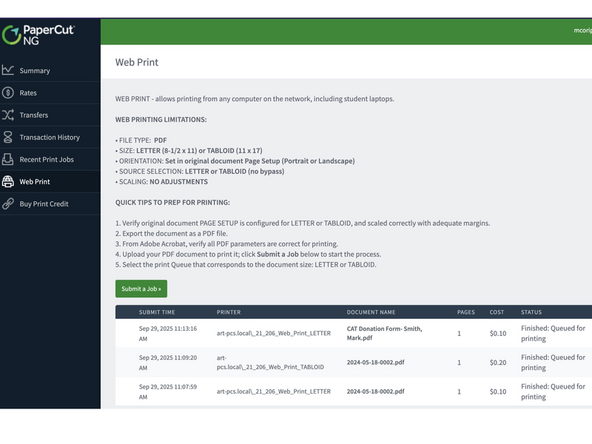
Review the details and limitations on this page, and then click the Submit a Print Job button.
-
Have your .PDF document (optimized for Letter or Tabloid layout) handy and ready for upload.
-
-
-
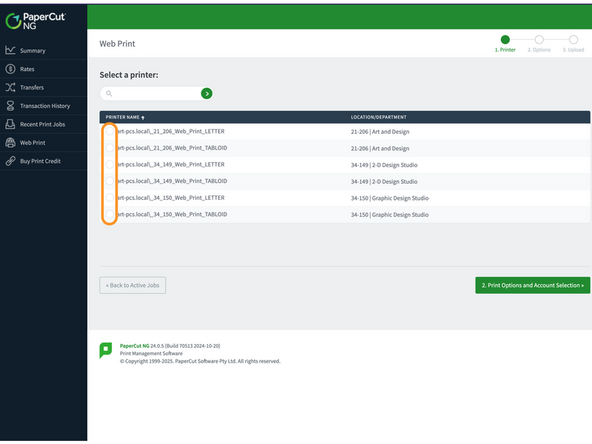
Select the correct print workflow.
-
Verify you are connecting to the correct printer. Connecting to the wrong printer will result in printing to the wrong room, and could disrupt a class.
-
Verify the correct page size; all printers have at least 2 options.
-
After the correct queue has been selected, Click on the Print Options and Account Selection button to proceed.
-
-
-
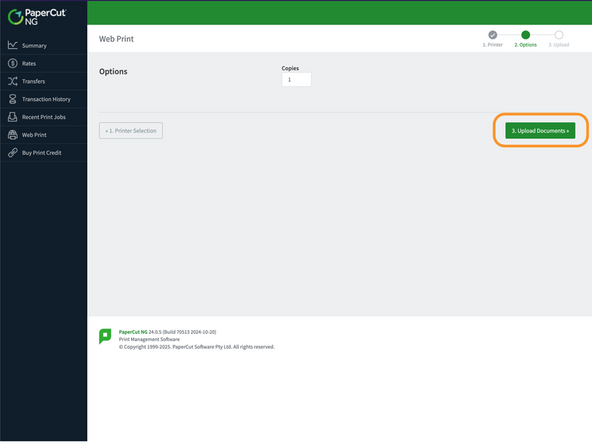
Verify or set the number of prints (default is 1 copy), and click the Upload Documents button.
-
-
-
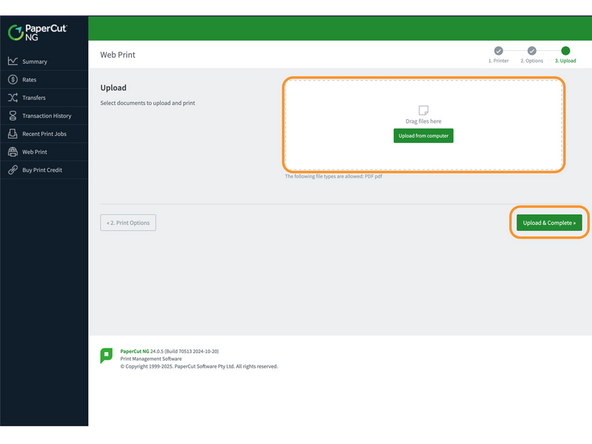
Drag your PDF to the upload box. Once the upload is complete, a PDF icon will be displayed.
-
Click the Upload & Complete button to print the document.
-
Once complete, the status will show Finished, and the total charged from your PaperCut account balance will be displayed, back on the starting web print page.
-


Cancel: I did not complete this guide.
One other person completed this guide.
